


Use Your Time Effectively On The Putting Green
By Ryan Gager
How do you spend time on the putting green? GOLFTEC’s Nick Clearwater is joined by Kevin Weeks, Director of Instruction at Cog Hill Golf & Country Club, to explain some of the best ways to practice putting. Kevin has worked with some of the top players in the game, and in this edition of Fix My Fault he talks about putting stroke path, starting direction and other keys to successful putting practice.
Practice Starting Direction
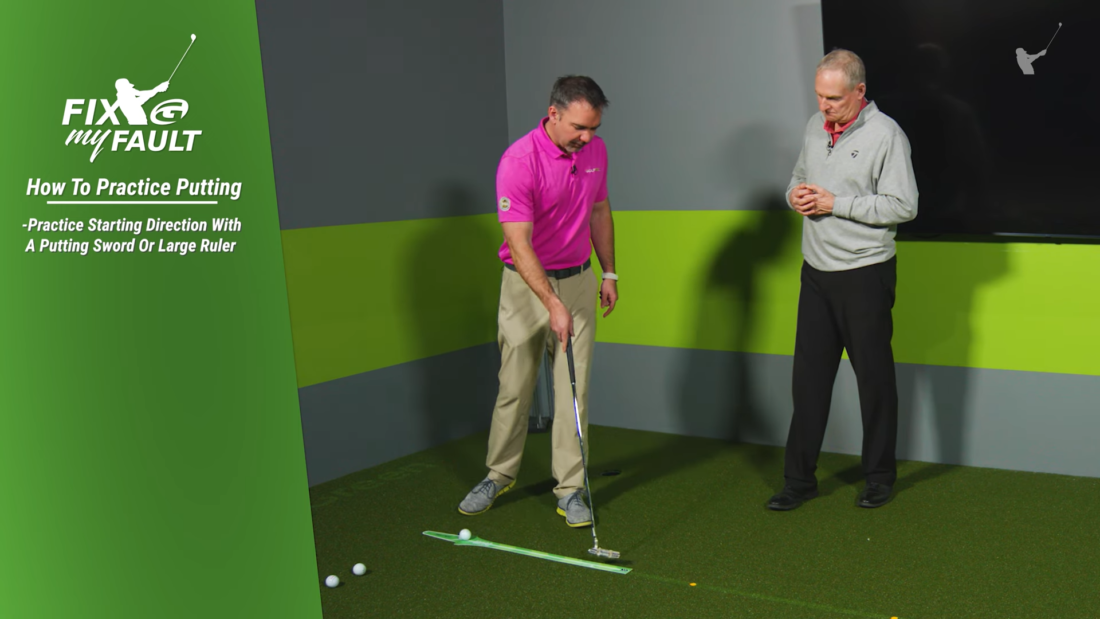
The first place to start is with a putting sword. These are in every GOLFTEC and are used in every putting assessment given to Students.
When practicing with the putting sword, Nick explains that if you can consistently roll the ball off the end of the sword without it falling off either side, you likely will have a straight enough line to make an 8-foot putt.
As you roll putts off the putting sword you will start to recognize a pattern, which is critical to understanding what you need to work on.
If you don’t have a putting sword, you can use alignment dots or other markings. Simply place them three feet apart and try to roll the ball over them in a straight line.
Fixing the Left or Right Miss
Now that you’ve worked on starting direction, it’s time to fix your patterns of missing left or right.
For right handers who are missing left there is one main thing Kevin wants you to work on: Check that your trail elbow is lower vertically than your lead elbow. This is an attempt to get your swing direction more out-to-in.
For misses the other way, tests have shown that the majority of bad putters miss away from their body – right handed players missing right and left handed players missing left.
If this is your miss, one of the easiest things to try to fix it is stand a little bit closer to the ball. The second thing to try is leaning and putting a little bit more weight on your lead leg.

Finding Your Impact Location
Another important step is to test where you are making contact on the putter face. For this drill, simply wrap two rubber bands around your putter the width of a golf ball.
Start hitting putts until you are able to strike putts without hitting the rubber bands. As you get better at this drill keep moving the rubber bands slightly closer together.
Keep in mind that your ideal impact location might not be exactly in the center of the face. In fact, many players’, even Tour players’, isn’t. The key is to find your ideal location and stick to it for more predictability.

Nick and Kevin covered a lot of ground on putting practice, so be sure to keep referencing this page and video often as you continue working on your putting. One key to implement fixes one at a time so you understand what is working and why it’s working. Too often golfers try to implement several different things, and end up more confused than they started. A quick stop in to your local GOLFTEC also can help get you on the right track with your putting as well. We implement all of these methods and drills from the video that will have you holing more putts!
Interested in more instructional content from GOLFTEC?
Fill out the form on this page and you’ll be subscribed to future emails with great videos, tips, drills, and more.
A local Coach will also contact you to discuss your game and how lessons or a fitting at a local Training Center may benefit you.

